

So you are now the proud owner of your first 3D Printer and you have questions? In this article I will explain the first use of your new printer. No matter what model your first 3D printer is, the steps I provide here will be useful to you.
Note: If your first 3D printer is a DIY (Do It Yourself) kit, this information will be most useful to you after the assembly of your new printer.
Step One:
Remove your printer from the box. Ensure you have removed all the packing materials, including tape and zip ties.

Step Two:
Prepare the build plate for a print. You have several options for ensuring your print sticks to the bed. Your options include blue painters tape, hair spray, Polyimide Tape, glue sticks, or BuildTak Sheets. I prefer and use BuildTak Sheets and will sometimes use glue sticks in conjunction with the BuildTak.

Step Three:
Time to heat up your new printer and load your choice of filament. For filament you will find several choices (i.e. PLA, ABS, PETG … etc). For a first time user though I would suggest PLA. The other types of filaments may have special heat requirements for adhesion to the bed and maintaining an overall great print. Depending on your type of PLA, use a nozzle temperature of between 195°C and 235°C. Check with your manufacture for the correct temperature. The bed should be set at no more than 60°C for PLA.

Warning: Exceeding 90°C on the bed may exceed your printer safe operating temperature and depending on your manufacture you may be at risk of a fire.
Warning: The extruder nozzle operates at high temperatures, always allow it to cool before touching.
Step Four:
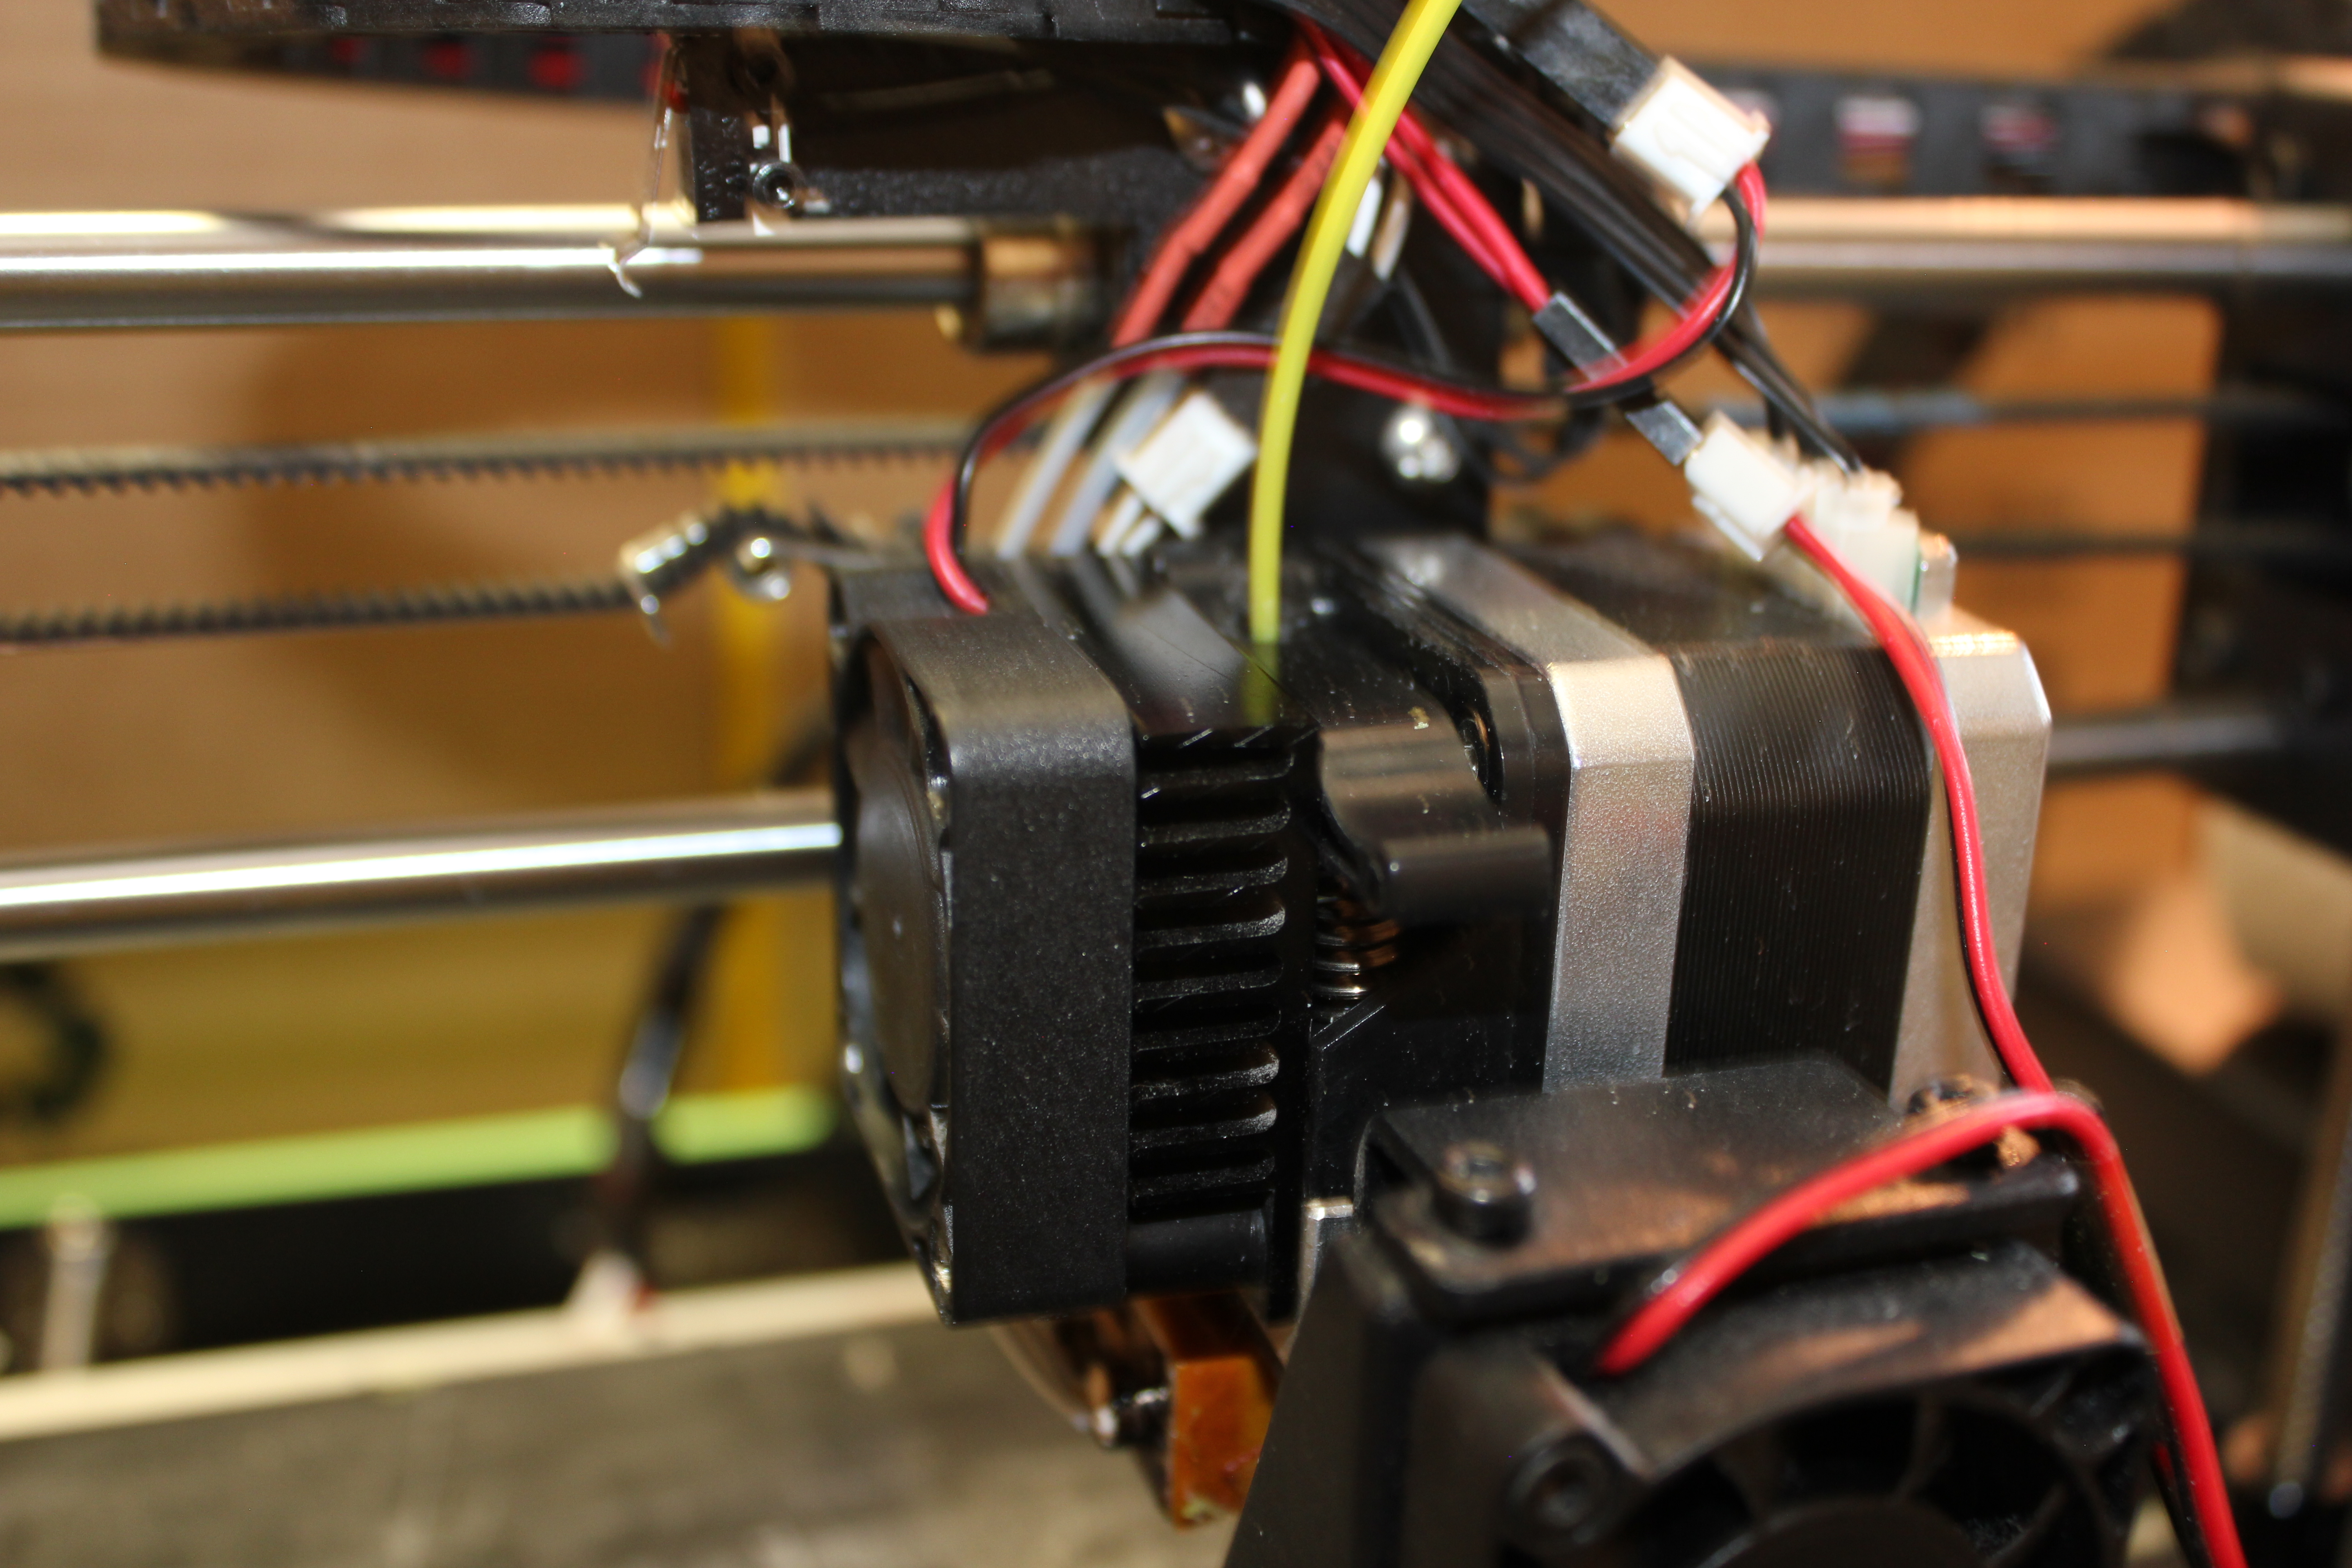
Loading or unloading filament. Some printers have an option for loading and unloading filament in their controller menu. Ensure the extruder is not already loaded with filament. Some have been tested in the factory and may still have a strip in the extruder. If there is filament present, you will need to remove it. If your printer does have the option to unload filament, choose that option and watch as the filament is removed from the extruder. If not be sure the extruder is more than 200°C and firmly grab the filament and push it into the extruder while applying pressure to the extruder release lever. Once some filament has flowed from the nozzle, firmly pull the filament from the extruder while still pressing the release lever. Now load the new filament, if you have the option in your menu for loading your filament please use it. If not while the extruder is still hot, push the release lever and insert your filament into the filament hole. You should feel no hesitation and you may even see some begin to flow from the nozzle. When you do see the filament exit the nozzle, you are now loaded with filament.


Step Five:
Level the bed. If you were lucky enough to get a self-leveling printer then select it in the control menu and watch as your printer is leveled in preparation for your first print. If not then first please ensure that the bed leveler adjusting screws are as tight as they can go in all four corners. Select “Home the Z Axis” in your control menu and then select “Disable Steppers”. At this point find a sheet of paper and fold it in half. Move the nozzle to within 1 inch of each of the four corner positions and adjust the bed up, by loosening the leveler knobs while moving the folded paper between the nozzle and the bed until the nozzle just grabs the paper. Don’t go too far are you may squeeze your filament too flat and potentially damage your bed with the hot nozzle.

Step Six:
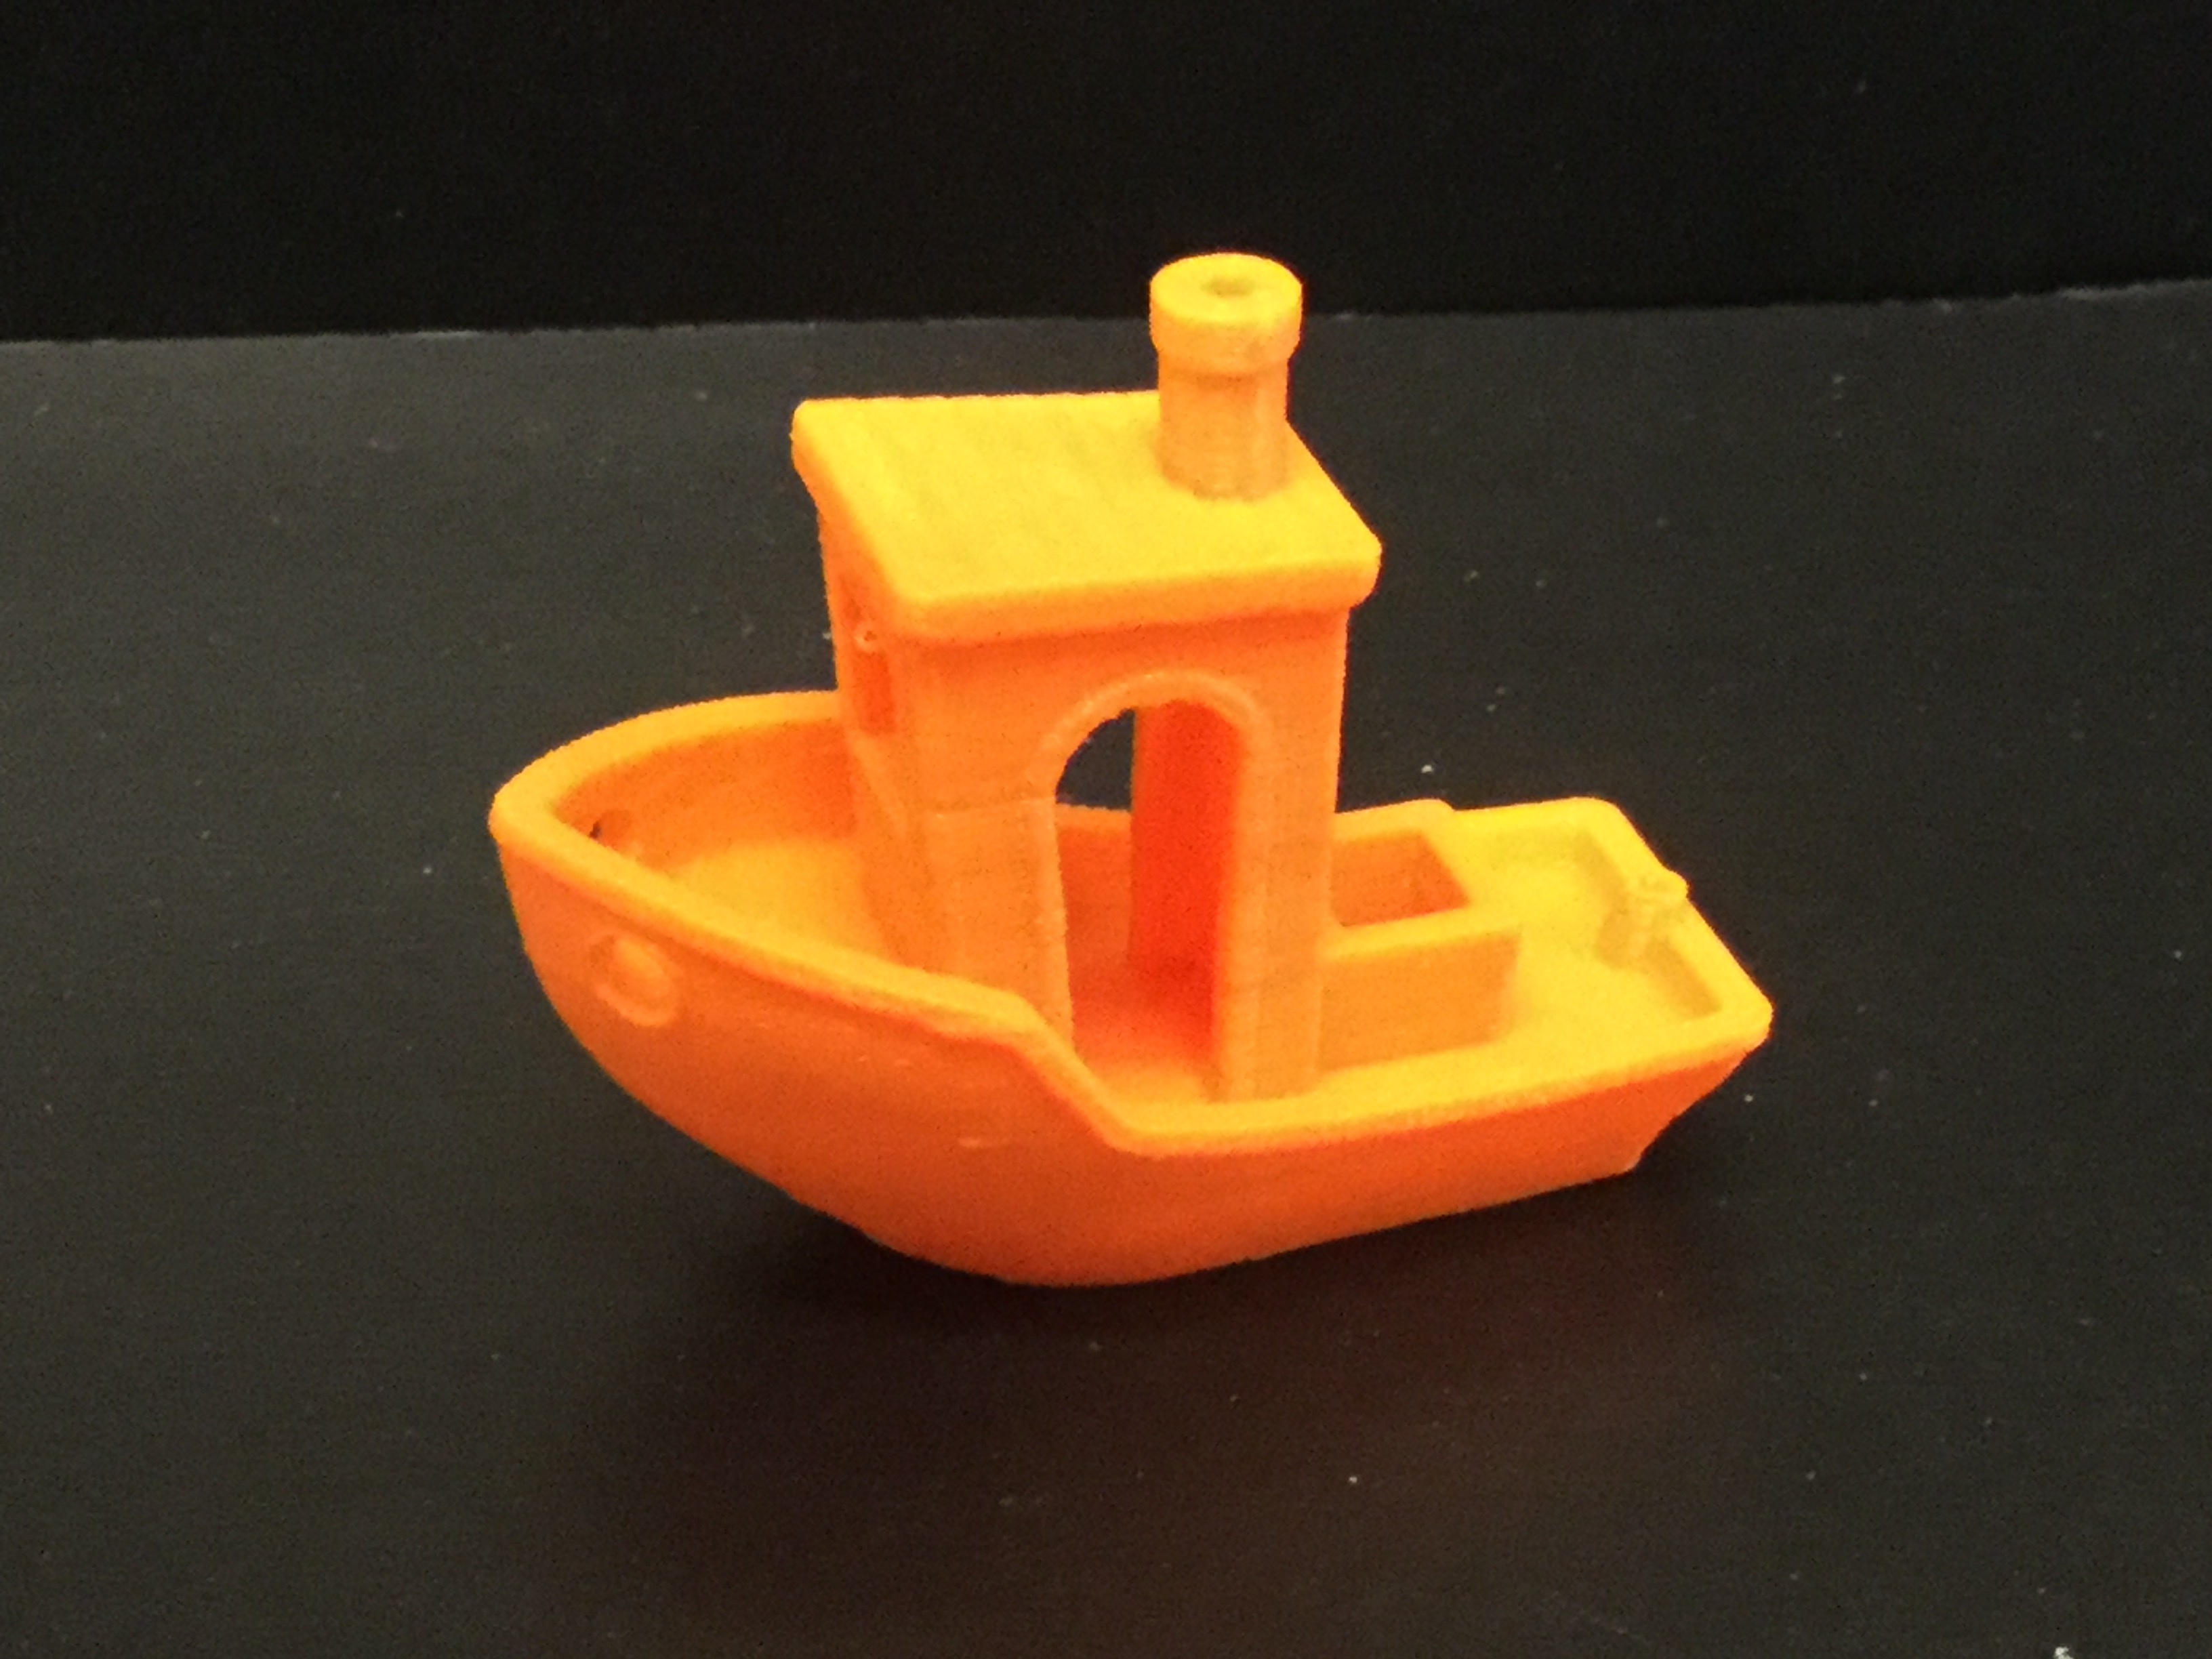
Congratulations you are ready to print your first test print. Let’s print the 3D Benchy from https://www.thingiverse.com/thing:763622. You’ll have to first slice it with your favorite slicer and save your .gcode file to an SD card. I’ll save slicers for another article in the future. This print will be a great starting point in determining if all of our settings are correct and our bed is level.
Conclusion
That’s it you have now printed your first ever 3D print. Welcome to the ever expanding world of 3D printing. In future articles I hope to inform on the use and selection of slicer software as well as troubleshooting and maintaining your first 3D Printer.
Until next time, please email me your comments are questions to henryjolly@gmail.com.
Thanks for this! Just got my son his first 3D printer and we’re both looking forward to learning as we go.
This article seemed like it was trying to be very broad in an attempt to apply to most new 3D printing users. However, at the same time the steps and advice seemed to be specific to a particular printer. There is nothing wrong with either broad or specific guides for new users. I just think it can be confusing to attempt both in the same article. I definitely like the idea of more guides and articles aimed at the newer user, I just think this one may have slightly missed the mark.
This is only meant as constructive criticism.
Thanks, I think this is really helpful to the new people wanting to start 3D printing. I think it covers the basics and people will know the difference in the printers they have. When I first got started in 3D printing I loved it when people wrote the basics to help me out.
A very commendable and detailed guide on how to set up and use your first 3D printer. Many of the people face hoards of troubles while using 3D printers. I request them to read this article and solve all their troubles.
Steps are great to have if you are new to the hobby good article.
good post x
> Warning: Exceeding 90°C on the bed may exceed your printer safe operating temperature and depending on your manufacture you may be at risk of a fire.
Not sure if this is true. I haven’t heard of any printer of which the bed gets damaged already at 90°C. In fact you need (or really should use) higher temperatures than this for ABS. The typical FR4 board should be fine up to ~110°C.
Also, 90°C is way to low to set anything on fire and if the electronics are catching fire or not is not dependant on the bed temperature.
Other than that, good overview.
I wrote something about
> Warning: Exceeding 90°C on the bed may exceed your printer safe operating temperature and depending on your manufacture you may be at risk of a fire.
not being correct because 90°C is too low do damage any material in your printer & the electronics catching on fire is not dependant on temperature, but this comment was blocked by the system…
Good guide for novices like me….thank you
Thanks for the useful tips for a 3d printing newbie